


Super hot kids, don't touch!!


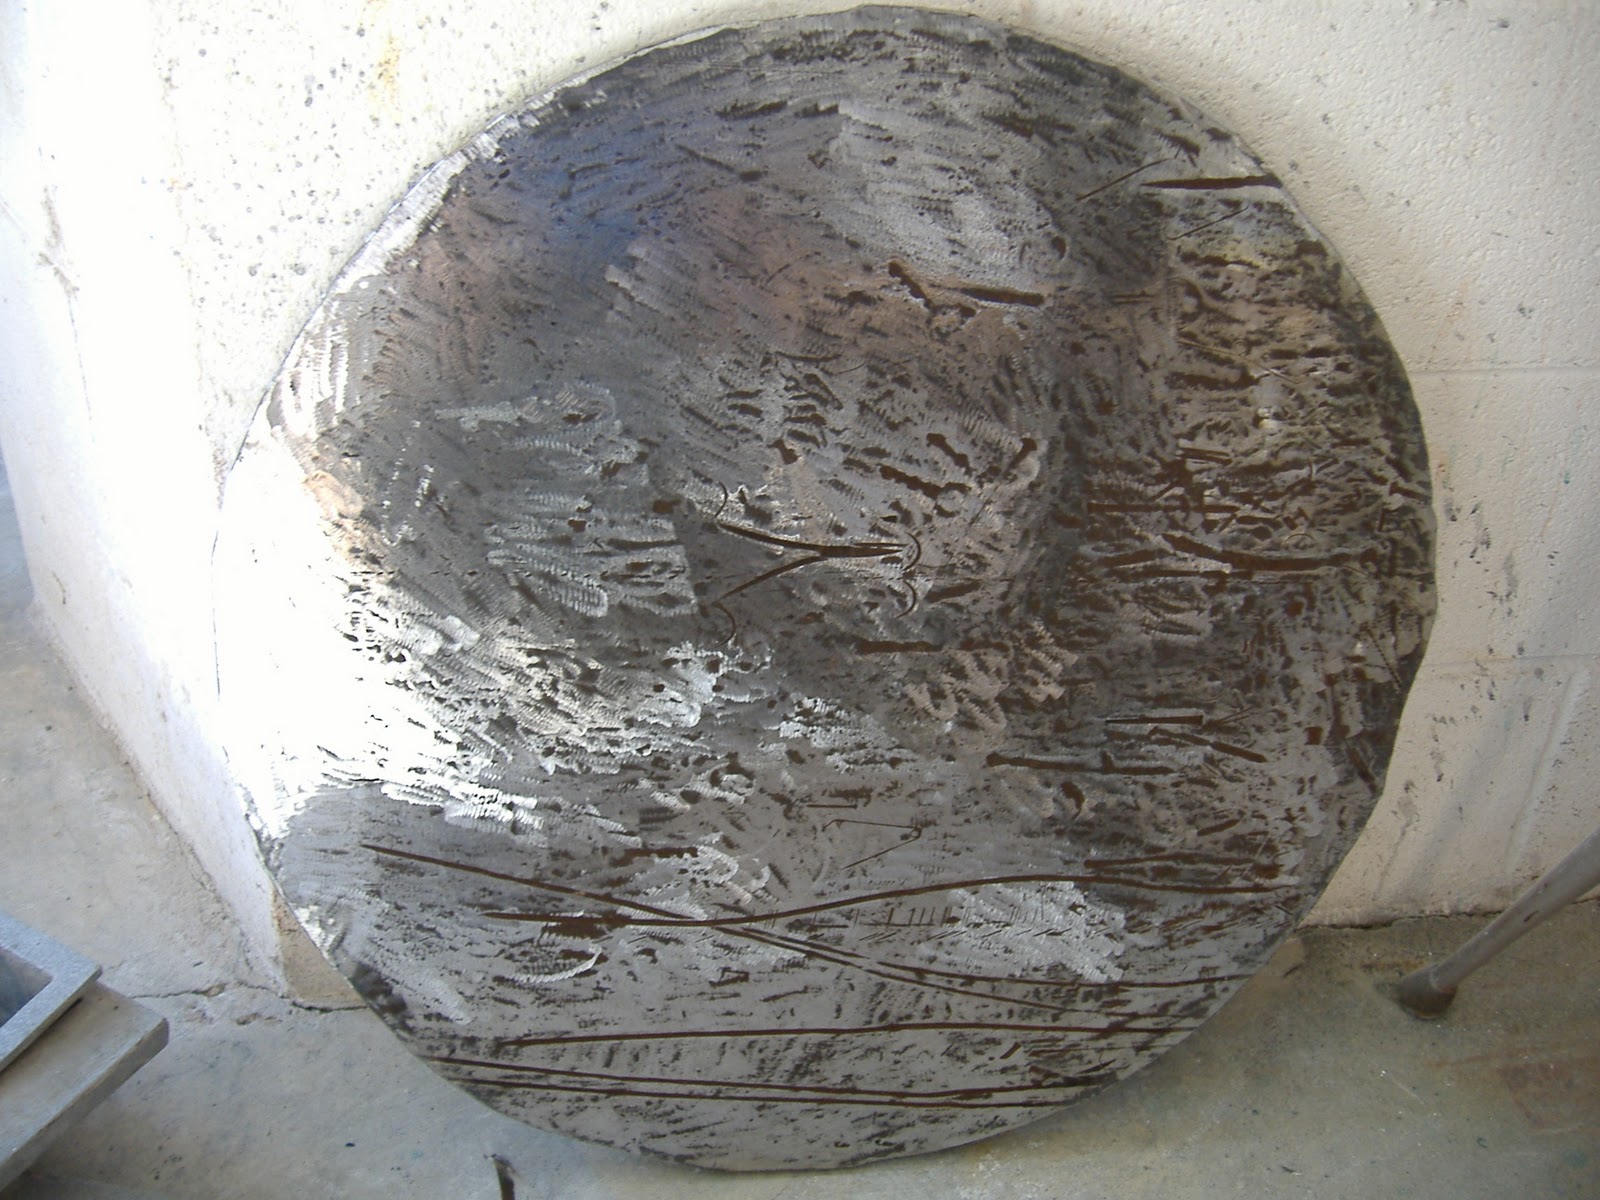
Ooooo close up bevel shot!


What is this device going to be used to do?
The quench tank will be used for quenching any work after it is tempered. It'll just be filled with normal household vegetable oil.
What had we used previously that didn't work and why?
Previously we had used a soup can filled with vegetable oil, but it was much too small for anything larger than a small axe head. When you use too small of a quenching container it leaves part of the work exposed to the air, which results in the surface of the oil catching on fire.
What did we add to make the device even more useful?
In order to make the quench tank a more useful item, we added a lifting basket to it. This makes it possible to quench things that are shorter than the tank and still be able to get them out.
And, finally, what did you think of that would prevent the tips from getting blunted?
Since the basket is just made of plate steel and some bent rod, if you dropped your blade into the tank it would chip the tips off of your piece. I'm going to attach a scrap of ply to the plate steel so that it can cushion the tips of the projects.
What is this device going to be used to do? What had we used previously that didn't work and why? What did we add to make the device even more useful (like the lifting device)? And, finally, what did you think of that would prevent the tips from getting blunted?
ReplyDelete